

How to size a photo for a website in Adobe Photoshop
Share on Social
Array
(
    [networks] => Array
        (
            [0] => facebook
            [1] => twitter
            [2] => pinterest
            [3] => linkedin
        )

    [has] => Array
        (
            [facebook] => 1
            [twitter] => 1
            [instagram] =>
            [pinterest] => 1
            [houzz] =>
            [linkedin] => 1
        )

)
Common Question
How do I size a photo for a website in Adobe Photoshop?
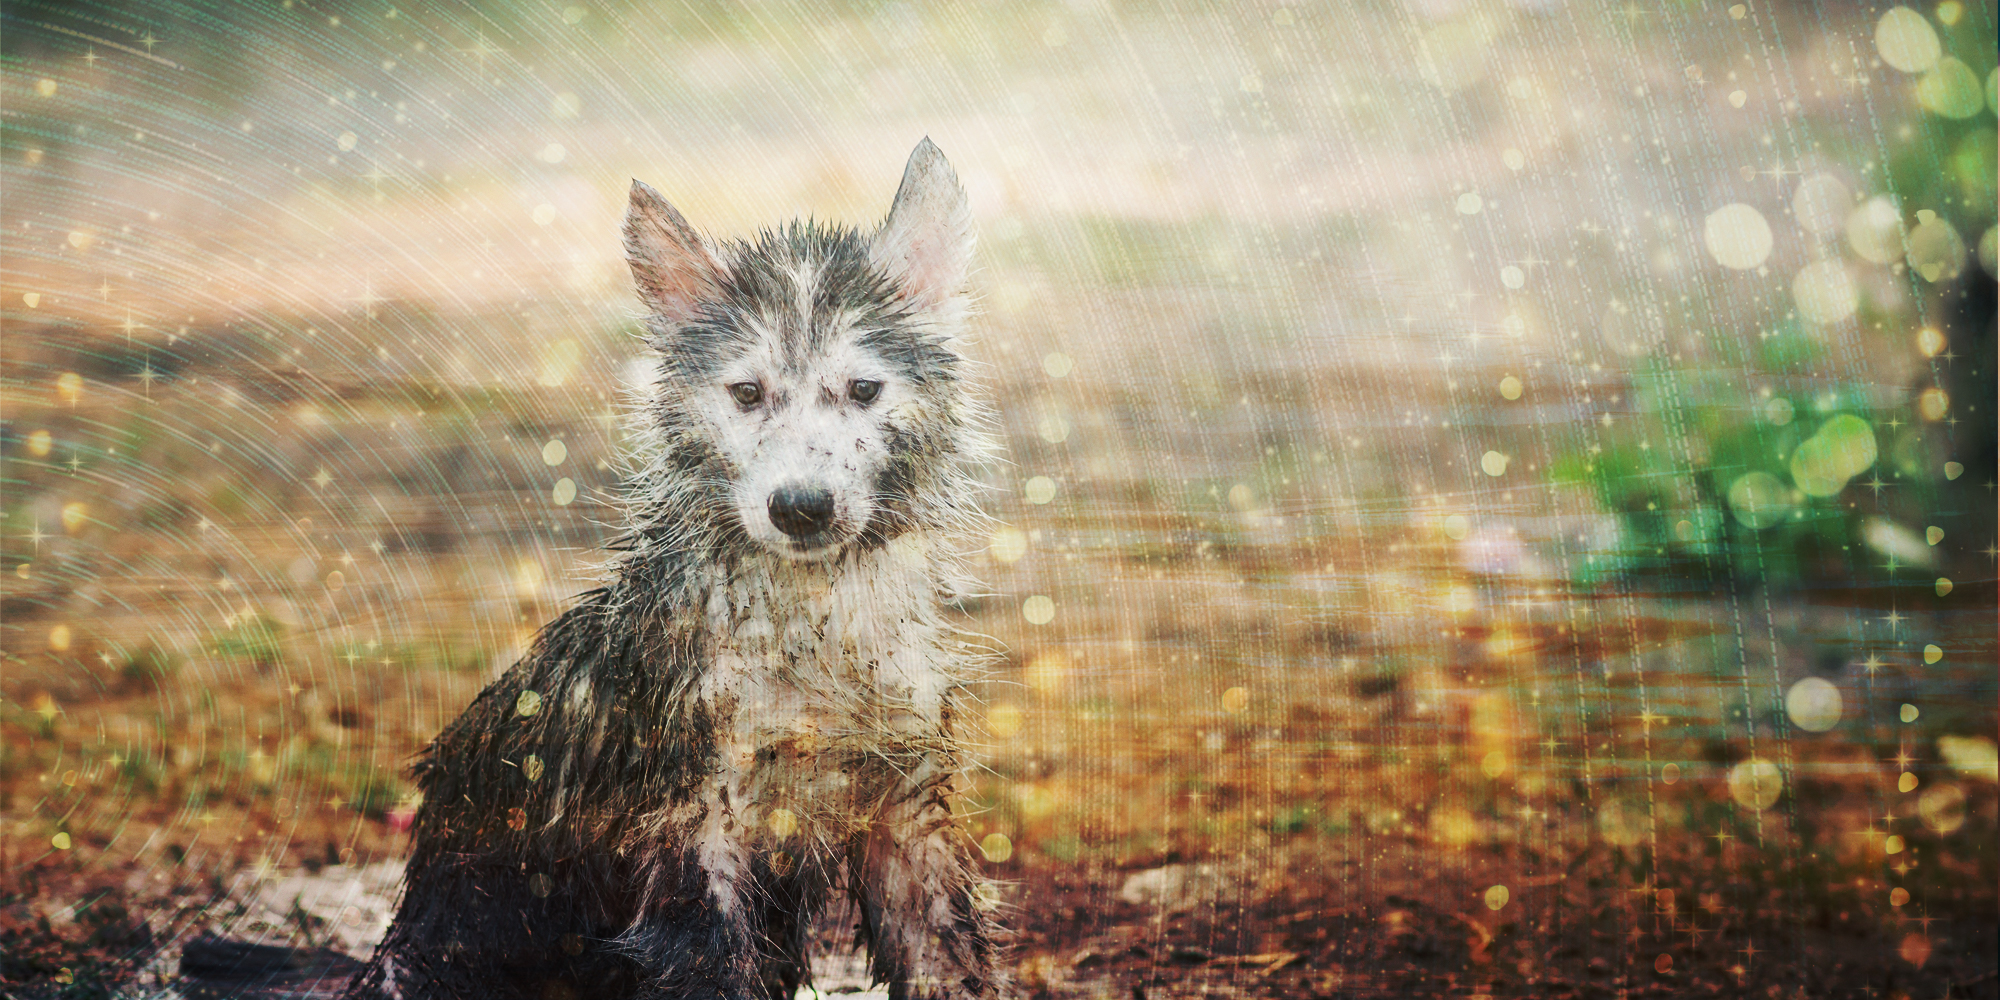
Websites are made up of images and text. It doesn’t really matter which website platform you are using, if you want to optimize your website speed (a.k.a. load time) you will need to learn how to size a photo for the web.
DPI/PPI/Resolution
DPI is Dots Per Inch and PPI is Pixels Per Inch. Technically slightly different, but essentially they are the same thing. It is my understanding that Dots are round, while Pixels are square. For the rest of this article, I’ll just use DPI to refer to this.
For example, when an image is 72 DPI it has 72 pixels across the inch and 72 pixels down the inch. This means a one-inch square image is made up of 5,184 pixels. This is considered the pixel density.
Two Common Resolution Sizes
300 DPI
300 DPI is a common resolution for printed materials.
72 DPI
72 DPI is a common resolution for screen or digital applications.
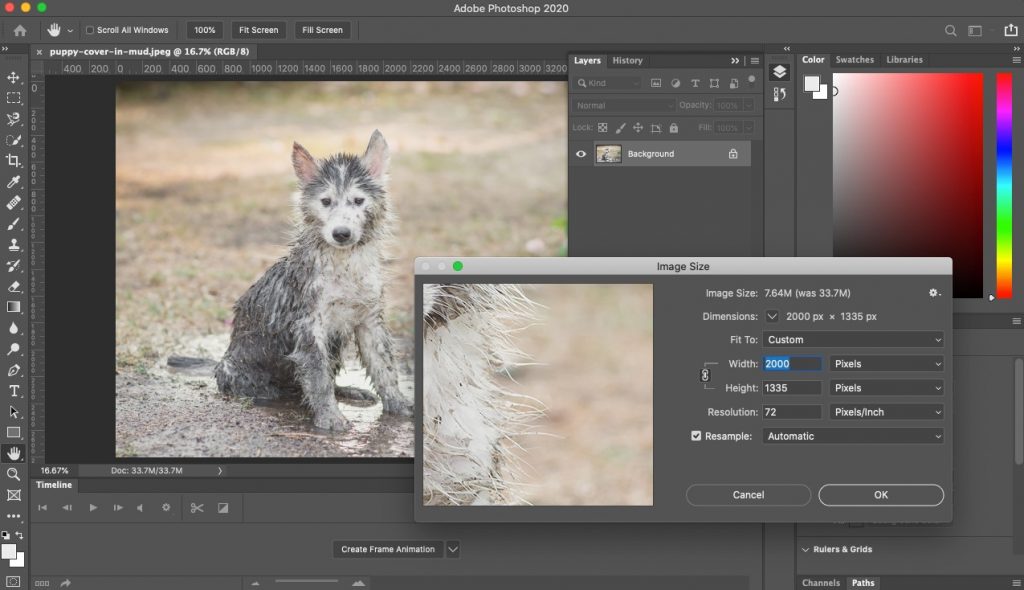
Size Down an Image in Photoshop
Go to the IMAGE menu located at the top of Photoshop >> Click on IMAGE SIZE >> the IMAGE SIZE window will open. You’ll want to adjust the RESOLUTION first and then edit the WIDTH >> Click OK to apply changes.
Width Pixel Size
For websites created by LaLa Projects, we always recommend 2000 px wide images for full-width banner/hero images.
Quality Settings
To get the Quality Settings to appear you’ll need to use SAVE AS. Open the FILE menu >> Choose SAVE AS >>This will open a window in which you can change the file name or folder location on your computer >> make your adjustments as needed >> Click SAVE >> then the JPEG OPTIONS window will appear >> Choose QUALITY level 8 >> Select FORMAT OPTIONS to BASELINE OPTIMIZED.
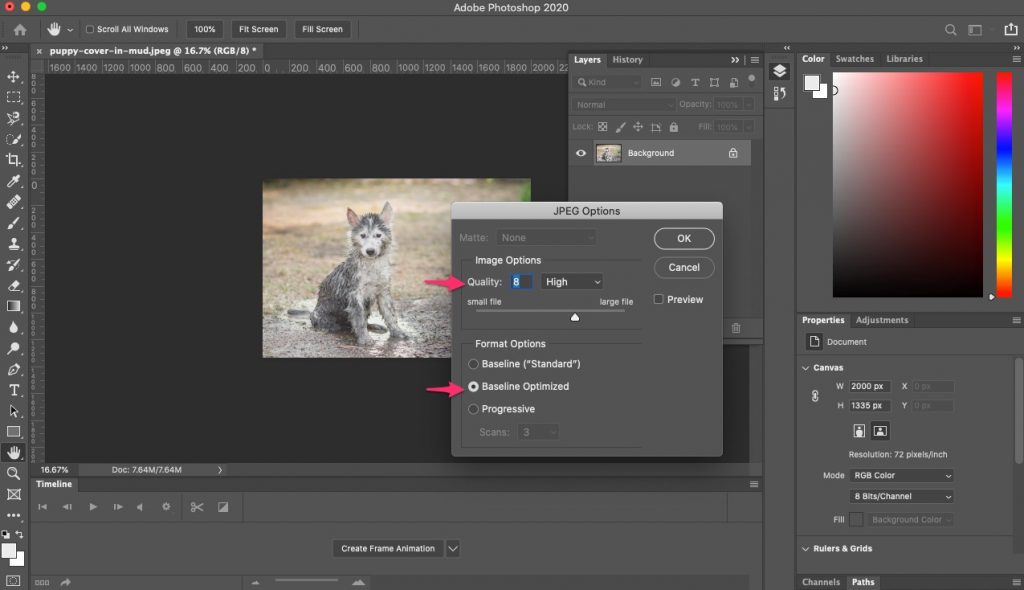
Both of these Quality settings will compress your image, reducing the quality of the image. We’ve found that these are the best settings for the website images. It reduces the quality, which reduces the size of the file without visually affecting the digital image in any way.
File Size Matters
The main reason we do this is to reduce the image file size. For example, this image file was 300 DPI, 4200 pixels wide and the file size was 4.5 MB. After applying these changes the image was 72 DPI, 2000 pixels wide and the file size was 450KB.
This adjustment will make a HUGE impact on website page speed. Page speed affects bounce rates, which ultimately impact SEO and your website sales. Google found 53% of mobile site visits were abandoned if a page took longer than 3 seconds to load.
Good Luck, and may the website speed gods smile down upon you.