

Step-by-Step: How to Migrate Your reCAPTCHA Keys
Share on Social
Array
(
    [networks] => Array
        (
            [0] => facebook
            [1] => twitter
            [2] => pinterest
            [3] => linkedin
        )

    [has] => Array
        (
            [facebook] => 1
            [twitter] => 1
            [instagram] =>
            [pinterest] => 1
            [houzz] =>
            [linkedin] => 1
        )

)

Google reCAPTCHA Migration: What You Need to Know
Google is moving all reCAPTCHA management into the Google Cloud Console, and all existing keys must be migrated as soon as possible. This change is required for your website’s compliance. If your reCAPTCHA keys are not migrated soon, forms on your website may stop working.
The good news is that migrating your keys is straightforward. You can either follow our step-by-step video tutorial above to complete the migration yourself, or we can handle the entire process for you.
1. Log in to Google reCAPTCHA
Start by signing into the Google account you use to manage your website. Once you are logged in, go to: google.com/recaptcha/admin. You should see a list of your existing reCAPTCHA keys. If not, you are not in the right account.
2. Select Your Website’s reCAPTCHA Key
Look for a banner or notice at the top of the page referencing Google Cloud migration and click the button that says “Migrate Keys”. This will redirect you to the Google Cloud and Google will automatically configure the project for reCAPTCHA.
3. Enable Billing
You may be asked to enable billing for the Google Cloud project. This step is required by Google but reCAPTCHA remains free for normal website use for any website with under 10,000 assessments per month. To enable billing, select the navigation menu in the top left corner to open the main menu and select Billing from the drop down. Then, follow the prompts to add a billing account.
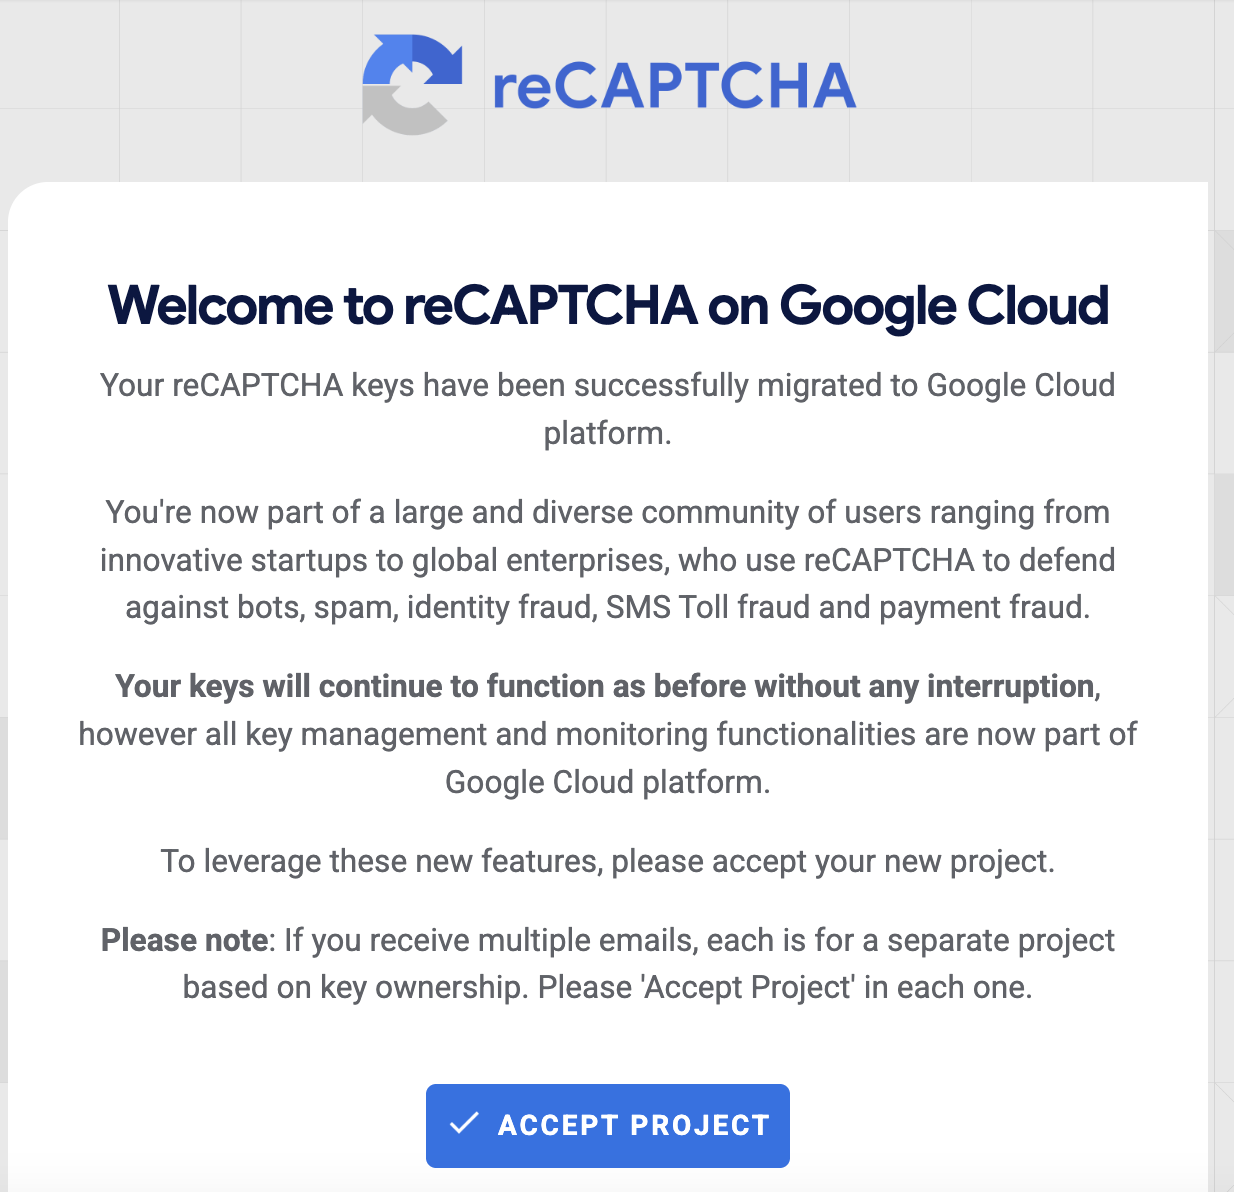
4. Complete the Migration
Wait for the confirmation message indicating the migration was successful like the example provided. Once finished, your reCAPTCHA key should now show as managed in Google Cloud. If you have more than one reCAPTCHA key, repeat these steps for each one.